How do I mask images with a shape in PowerPoint?
Want to get creative with your images in PowerPoint? Try masking them with shapes! This trick lets you crop photos into hearts, circles, stars, or any shape you like—perfect for giving your presentation a polished and playful touch.
Design Tips
Use consistent shapes across slides to keep your design looking cohesive.
Combine masked images with background gradients, drop shadows, or color overlays for added depth.
If your image doesn’t fit perfectly in the shape, use Crop > Fill or Crop > Fit to make quick adjustments.
Pair shaped images with icons, text boxes, or custom backgrounds for even more creative flexibility.
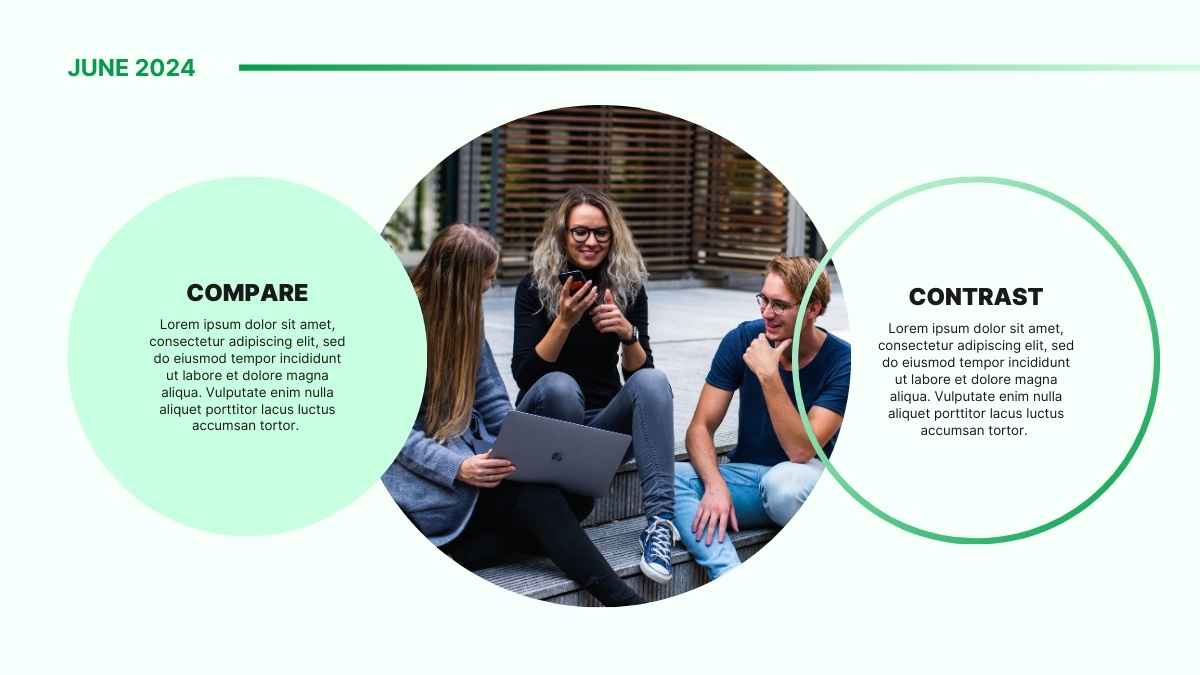
Sample Slides Featuring This Trick
Want to see this trick in action? Our design team regularly uses image masking in templates to add personality and polish. Here are a few slide examples where image masking with shapes works beautifully:


PowerPoint offers more than just bullet points and charts—it’s a powerful design tool if you know where to look. Masking images with shapes is one of those easy-to-miss features that can instantly elevate your slides from basic to bold. Next time you want to make a visual statement or add a creative touch to your presentation, give this trick a try. Your audience will thank you!
Recap & Key Takeaways
- Masking images with shapes is a simple design trick that can dramatically enhance your PowerPoint slides.
- It’s great for both professional and creative presentations.
- You can apply this in just a few clicks using the Picture Format > Crop to Shape tool.
- Adjust your layout, background, and image size to get the most out of this feature.
- You’ll find great use of image masking in our ready-made templates for business, education, and personal use.
Related templates


Related articles

How to change the shape of an image in Google Slides
Images do more than just fill space on a presentation slide. A well-chosen image grabs attention, reinforces your message, and...
07/03/2025