
원하는 이미지를 매력적인 디자인으로 보여주고 싶다면, 특정 모양에 맞게 마스킹하여 사용할 수 있습니다.
- 삽입 메뉴를 열고, 이미지 를 선택하고 소스를 선택합니다.
- 이미지가 슬라이드에 나타나면 클릭합니다. 위쪽에 자르기 옆에 아래쪽 화살표를 클릭합니다.
- 원하는 모양을 클릭합니다.
- 모양이 이미지를 가립니다. 모양을 조정하려면 색상 핸들을 클릭하고 드래그합니다.
Search
Trends

원하는 이미지를 매력적인 디자인으로 보여주고 싶다면, 특정 모양에 맞게 마스킹하여 사용할 수 있습니다.

Add dynamic GIF's, captivating videos, and stylish photo frames directly from Canva's royalty-free asset library effortlessly. Share or export anywhere, be it PPT or Google Slides.
Start editing for free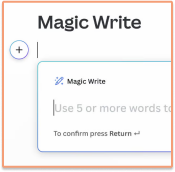
Go from idea to your first draft *in seconds with Magic Write, our content generation tool powered by OpenAI.
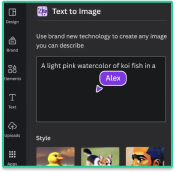
Dream it up, then add it to your design. Watch your words and phrases transform into beautiful images.
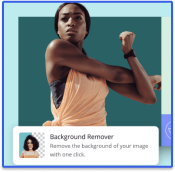
Click to remove image backgrounds, perfect for product photos, headshots, or transparent PNGs.
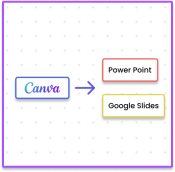
Canva allows you to export to a perfect PPT or Google Slide when you are done.